
Looking to remove the rear outboard seat bolster in your 2024 Tesla Cybertruck? Well, you’ve come to the right place! In this informative video by DblCapCrimpin, you’ll find step-by-step instructions on how to safely remove the seat bolster. From discussing the clips and dams that attach the bolster to the seat assembly, to demonstrating the lever underneath the bottom that needs to be released, this video covers all the necessary details to ensure a successful removal process.
Furthermore, the video highlights some interesting Cybertruck gear and overlanding gear recommendations for any Tesla enthusiast. So, whether you’re a Cybertruck owner looking to make modifications or simply curious about the process, this video has got you covered. Don’t forget to hit that like and subscribe button if you find this video helpful, and as always, stay tuned for more informative content from DblCapCrimpin.
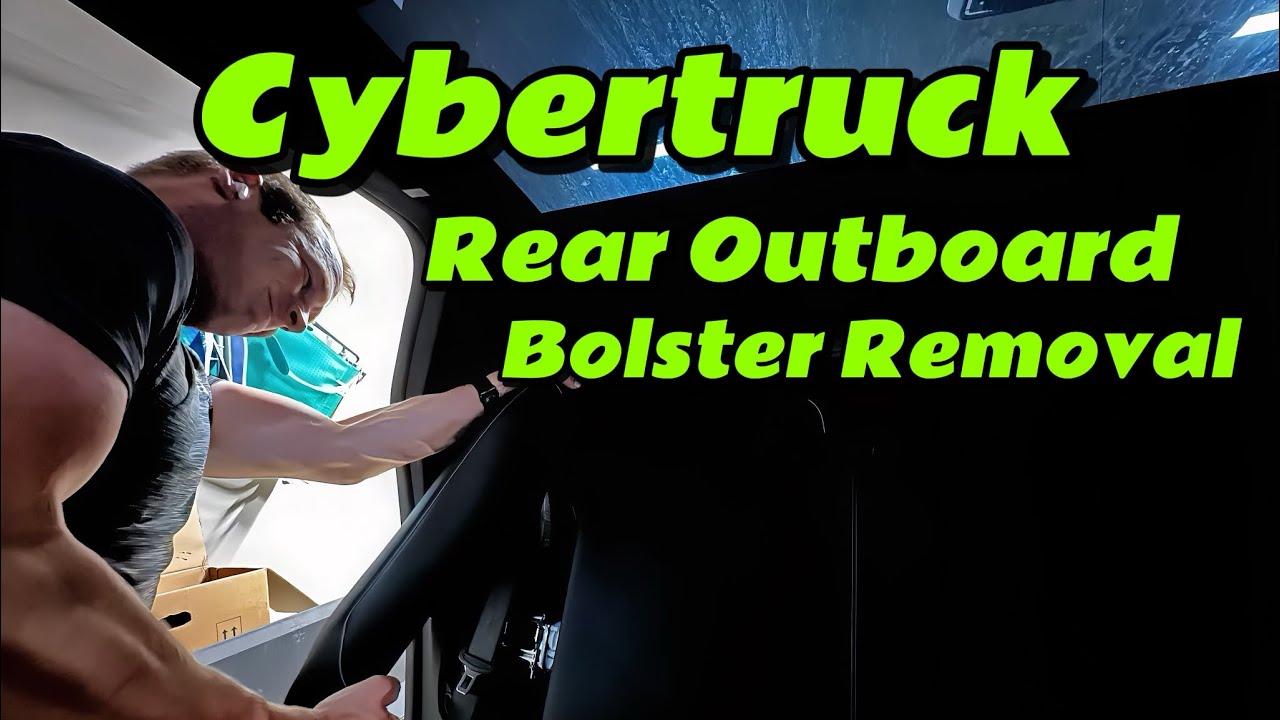
How to Remove the 2024 Tesla Cybertruck Rear Outboard Seat Bolster
If you’re looking to remove the rear outboard seat bolster in your 2024 Tesla Cybertruck, you’ve come to the right place! In this comprehensive guide, we’ll walk you through each step of the process to ensure a smooth and successful removal. So let’s get started!
Step 1: Locate the Lever Underneath the Seat
To begin, you’ll need to locate the lever that is positioned underneath the seat. This lever is used to release the bottom part of the bolster. Take a moment to familiarize yourself with the location of the lever before proceeding to the next step.
Step 2: Lift the Lever to Release the Bottom of the Bolster
Once you’ve identified the lever, gently lift it to release the bottom part of the bolster. It’s important to ensure that the lever is fully lifted in order to properly release the bottom. Take your time and ensure that the lever is fully engaged.
Step 3: Pop the Clips on the Side of the Bolster
With the bottom of the bolster released, you can now move on to popping the clips on the side of the bolster. Working your way up from the bottom, gently pop each clip to detach the bolster from the seat assembly. This may require a bit of force, so take care not to use excessive pressure.

Step 4: Pop the Top Trim Behind the Seat
Next, locate the top trim behind the seat. This trim is connected to the bolster through a latch. Gently pop the top trim up to access the latch and disconnect it from the bolster. This step is crucial for removing the top part of the bolster, so be sure to take your time and ensure that the trim is fully popped up.
Step 5: Reach In and Push Up on the Lever to Release the Anchor
Once the top trim is popped up, reach in behind it and locate the lever. This lever is responsible for releasing the anchor and detaching the top part of the bolster. Push up on the lever to release the anchor and separate the top part of the bolster from the seat assembly. This step may require a bit of finesse, so be patient and gentle with your movements.
Step 6: Remove the Clips on the Rest of the Bolster
Now that the anchor is released, you can continue to remove the clips on the rest of the bolster. Work your way around the bolster, ensuring that all the clips are fully detached before proceeding to the next step. This may take some time, but it’s important to ensure that each clip is properly removed.
Step 7: Remove the Top of the Bolster
Once all the clips are removed, you can now remove the top part of the bolster. Carefully lift the top part of the bolster away from the seat assembly, taking care not to break any anchors or components during the process. This step requires delicacy, so be mindful of your movements and take your time.
Step 8: Be Careful Not to Break the Anchors
Throughout the removal process, it is crucial to handle the bolster with care in order to avoid breaking any anchors. Ensure that the anchors are properly released before pulling the bolster out. By taking your time and being mindful of your movements, you can successfully remove the bolster without causing any damage.
Step 9: Send Updates or Discrepancies to Tesla
If you encounter any issues or discrepancies during the removal process, it is highly recommended to send updates or feedback to Tesla. They have an email specifically dedicated to receiving updates and addressing any concerns regarding the service manual or any discrepancies with the removal process. By providing this valuable feedback, you can contribute to enhancing the removal process for future users.
Step 10: Conclusion
In conclusion, removing the 2024 Tesla Cybertruck rear outboard seat bolster may seem like a daunting task at first, but by following these steps, you can confidently and successfully complete the process. Remember to take your time, be gentle with your movements, and prioritize the careful removal of the bolster and its components. If you found this article helpful, don’t forget to hit that like button and subscribe for more informative content. We appreciate your support and wish you the best of luck with your removal process. Until next time, happy remodeling!
To remove the rear outboard seat bolster of the 2024 Tesla Cybertruck and CyberBeast, you will need the following gear:
- Lug nut covers (2 packs)
- Wheel center caps
- Draggy GPS Based Performance Meter
- Rough Country Rubber Molle Panel Clamp Kit
- Windex
- Bar Keepers Friend
- Feynlab Car Soap
- Rag Roll
- Tire brush
- Rim brush
- Micro Fiber Mitts
- Windshield micro fiber pole
- Tesla Cybertruck Ramp
- Tesla Cybertruck Molle Panel
For overlanding purposes, you may also need the following gear:
- Mountain House 5-day food supply
- Jet boil stove
- Folding chair
- Survival shovel
- Two-way radio
- Heavy-duty chain and lock
- 1″×30ft Kinetic Recovery Rope (48,500lbs) with 2 Soft Shackles
- Rhino recovery boards
- Rhino D rings
- Rhino Shackle Hitch
- Rhino Recovery Tow Strap (4″ x 30′) 40,320lb
- Rhino USA Tree Saver Tow Strap (8′ x 3″) – 31,518lb
- Magnetic LED lights
- NEMA 14-50P to L14-30R Generator Transfer Switch Adapter
For video recording purposes, you may need the following gear:
- DJI Mic2 microphone
- DJI Action camera with 4 extra batteries
- DJI Battery case/charger
- Camera suction mounts
- DJI Mini 4 drone hard case
- Cellphone/camera tripod mount
- SanDisk 512GB microSD card
- Extra suction cups
Make sure to follow the necessary steps and precautions when removing the rear outboard seat bolster.